Waterline
1. What is waterlining ?
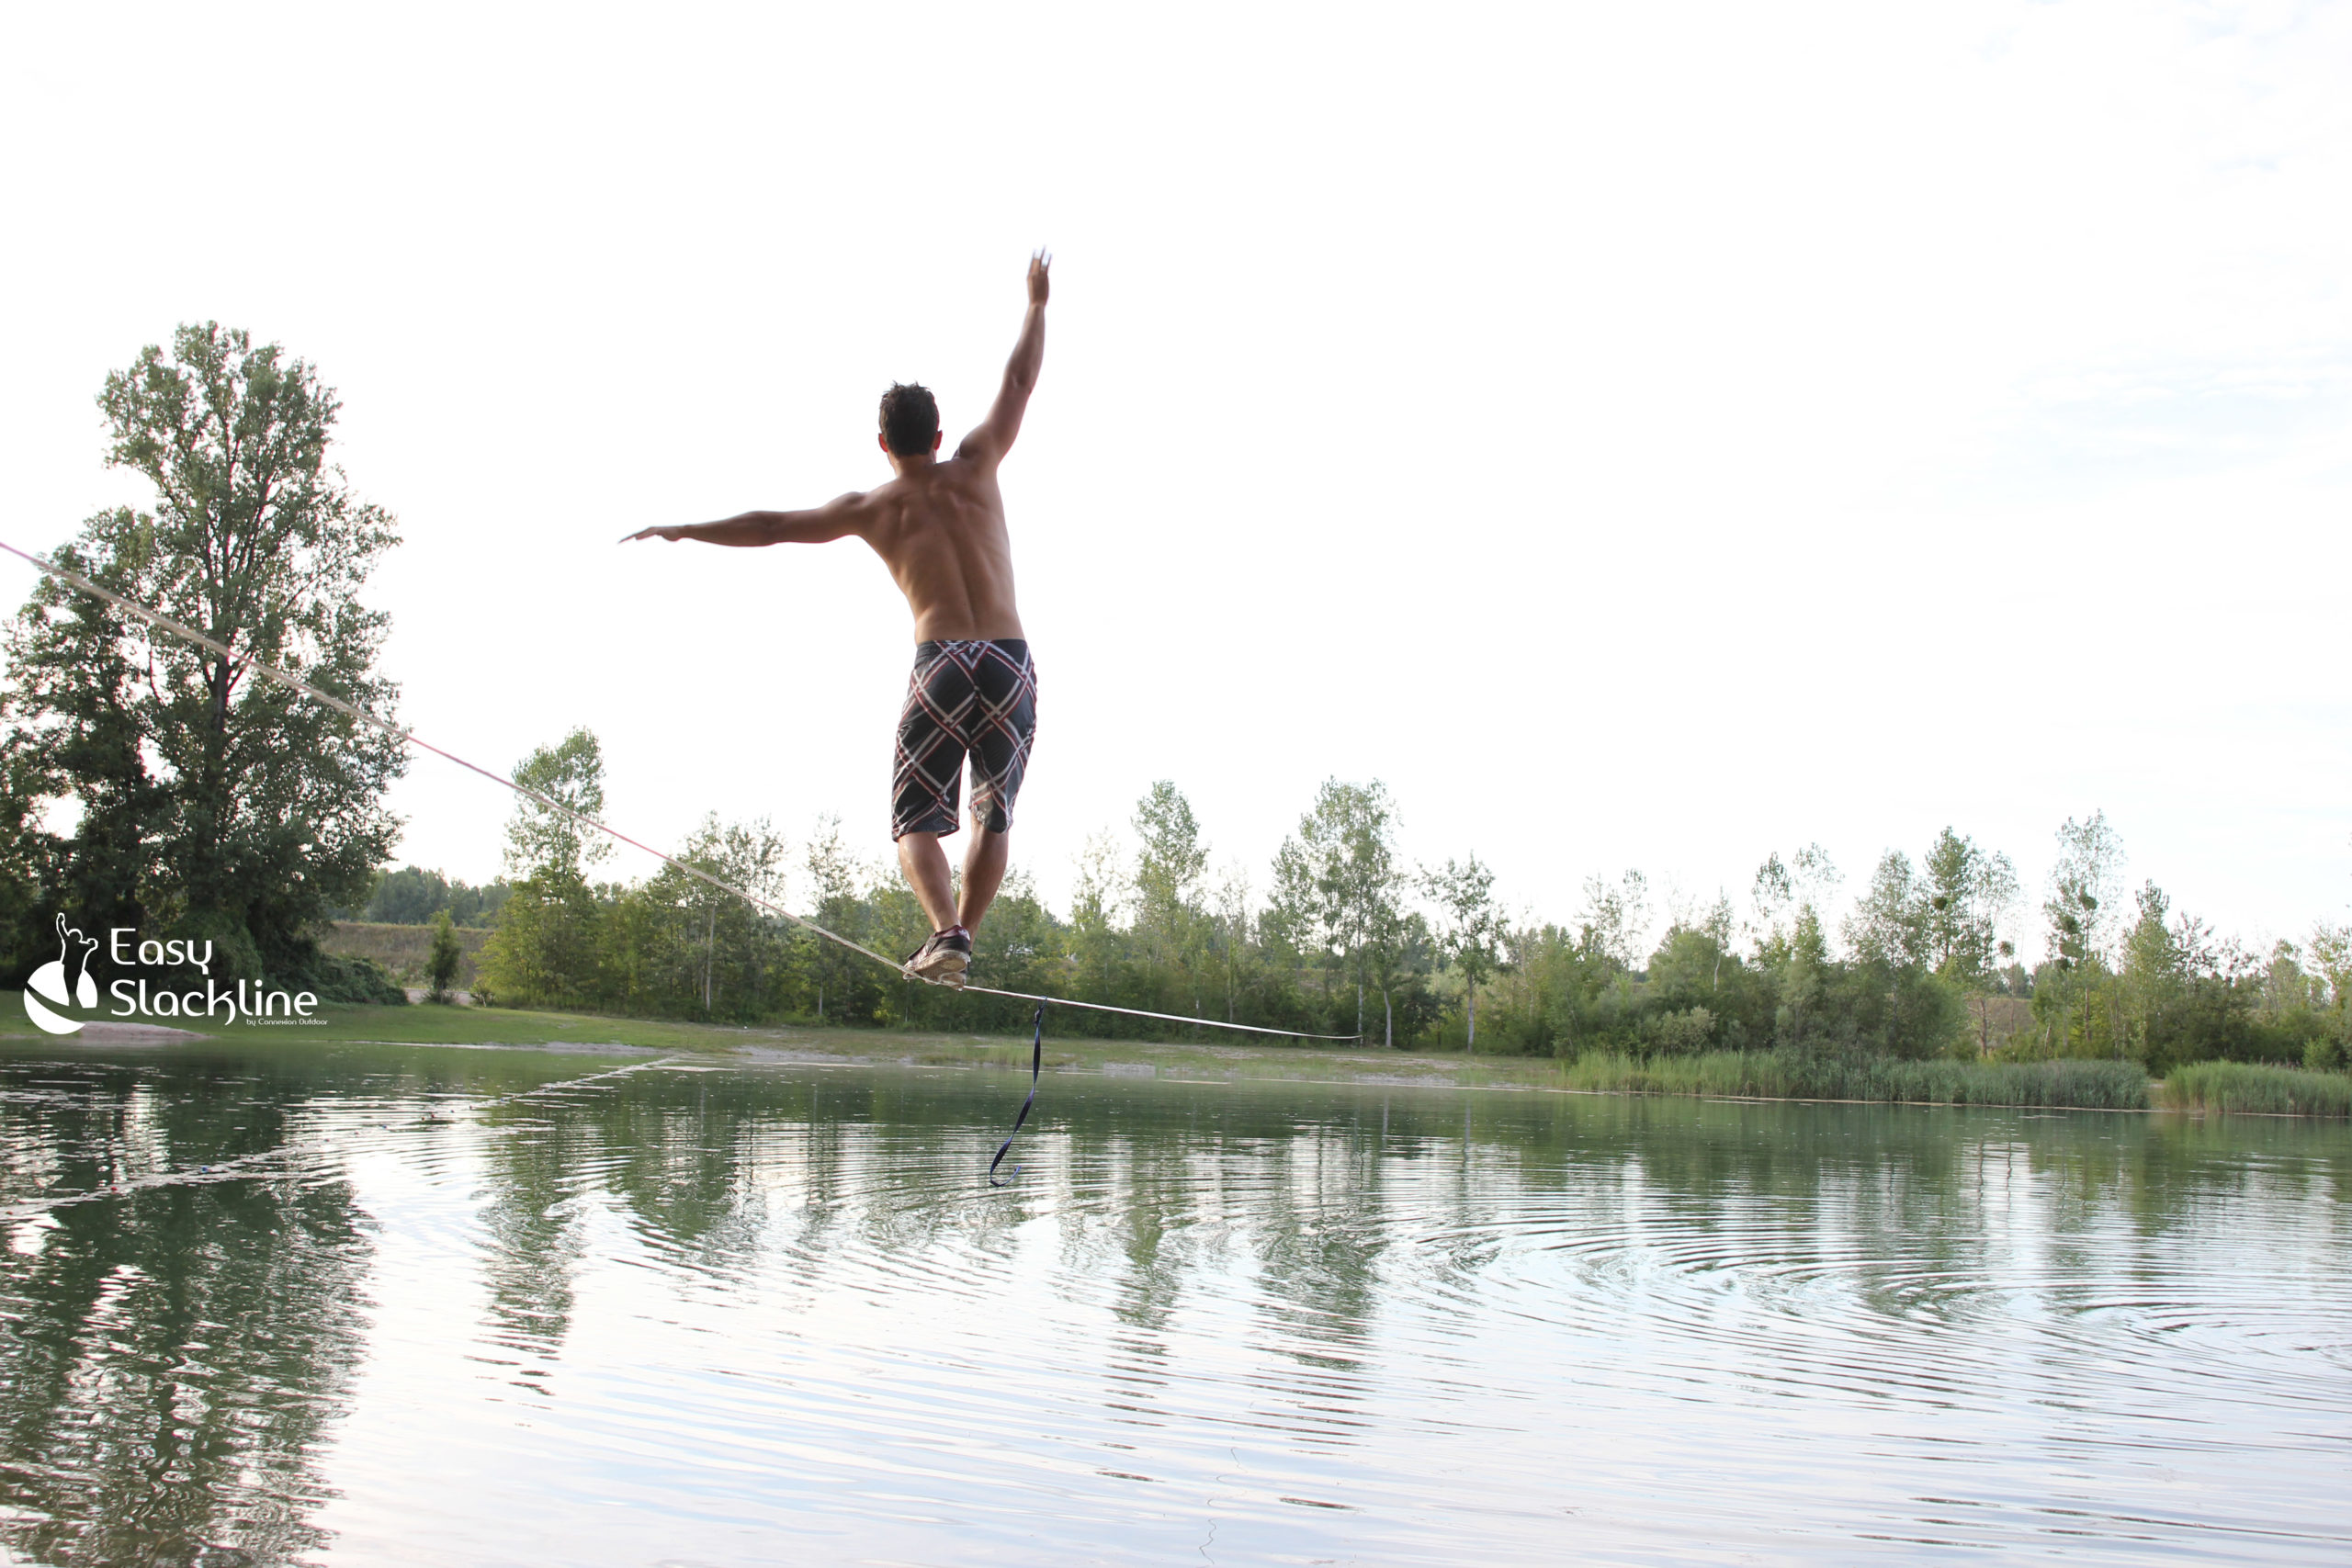
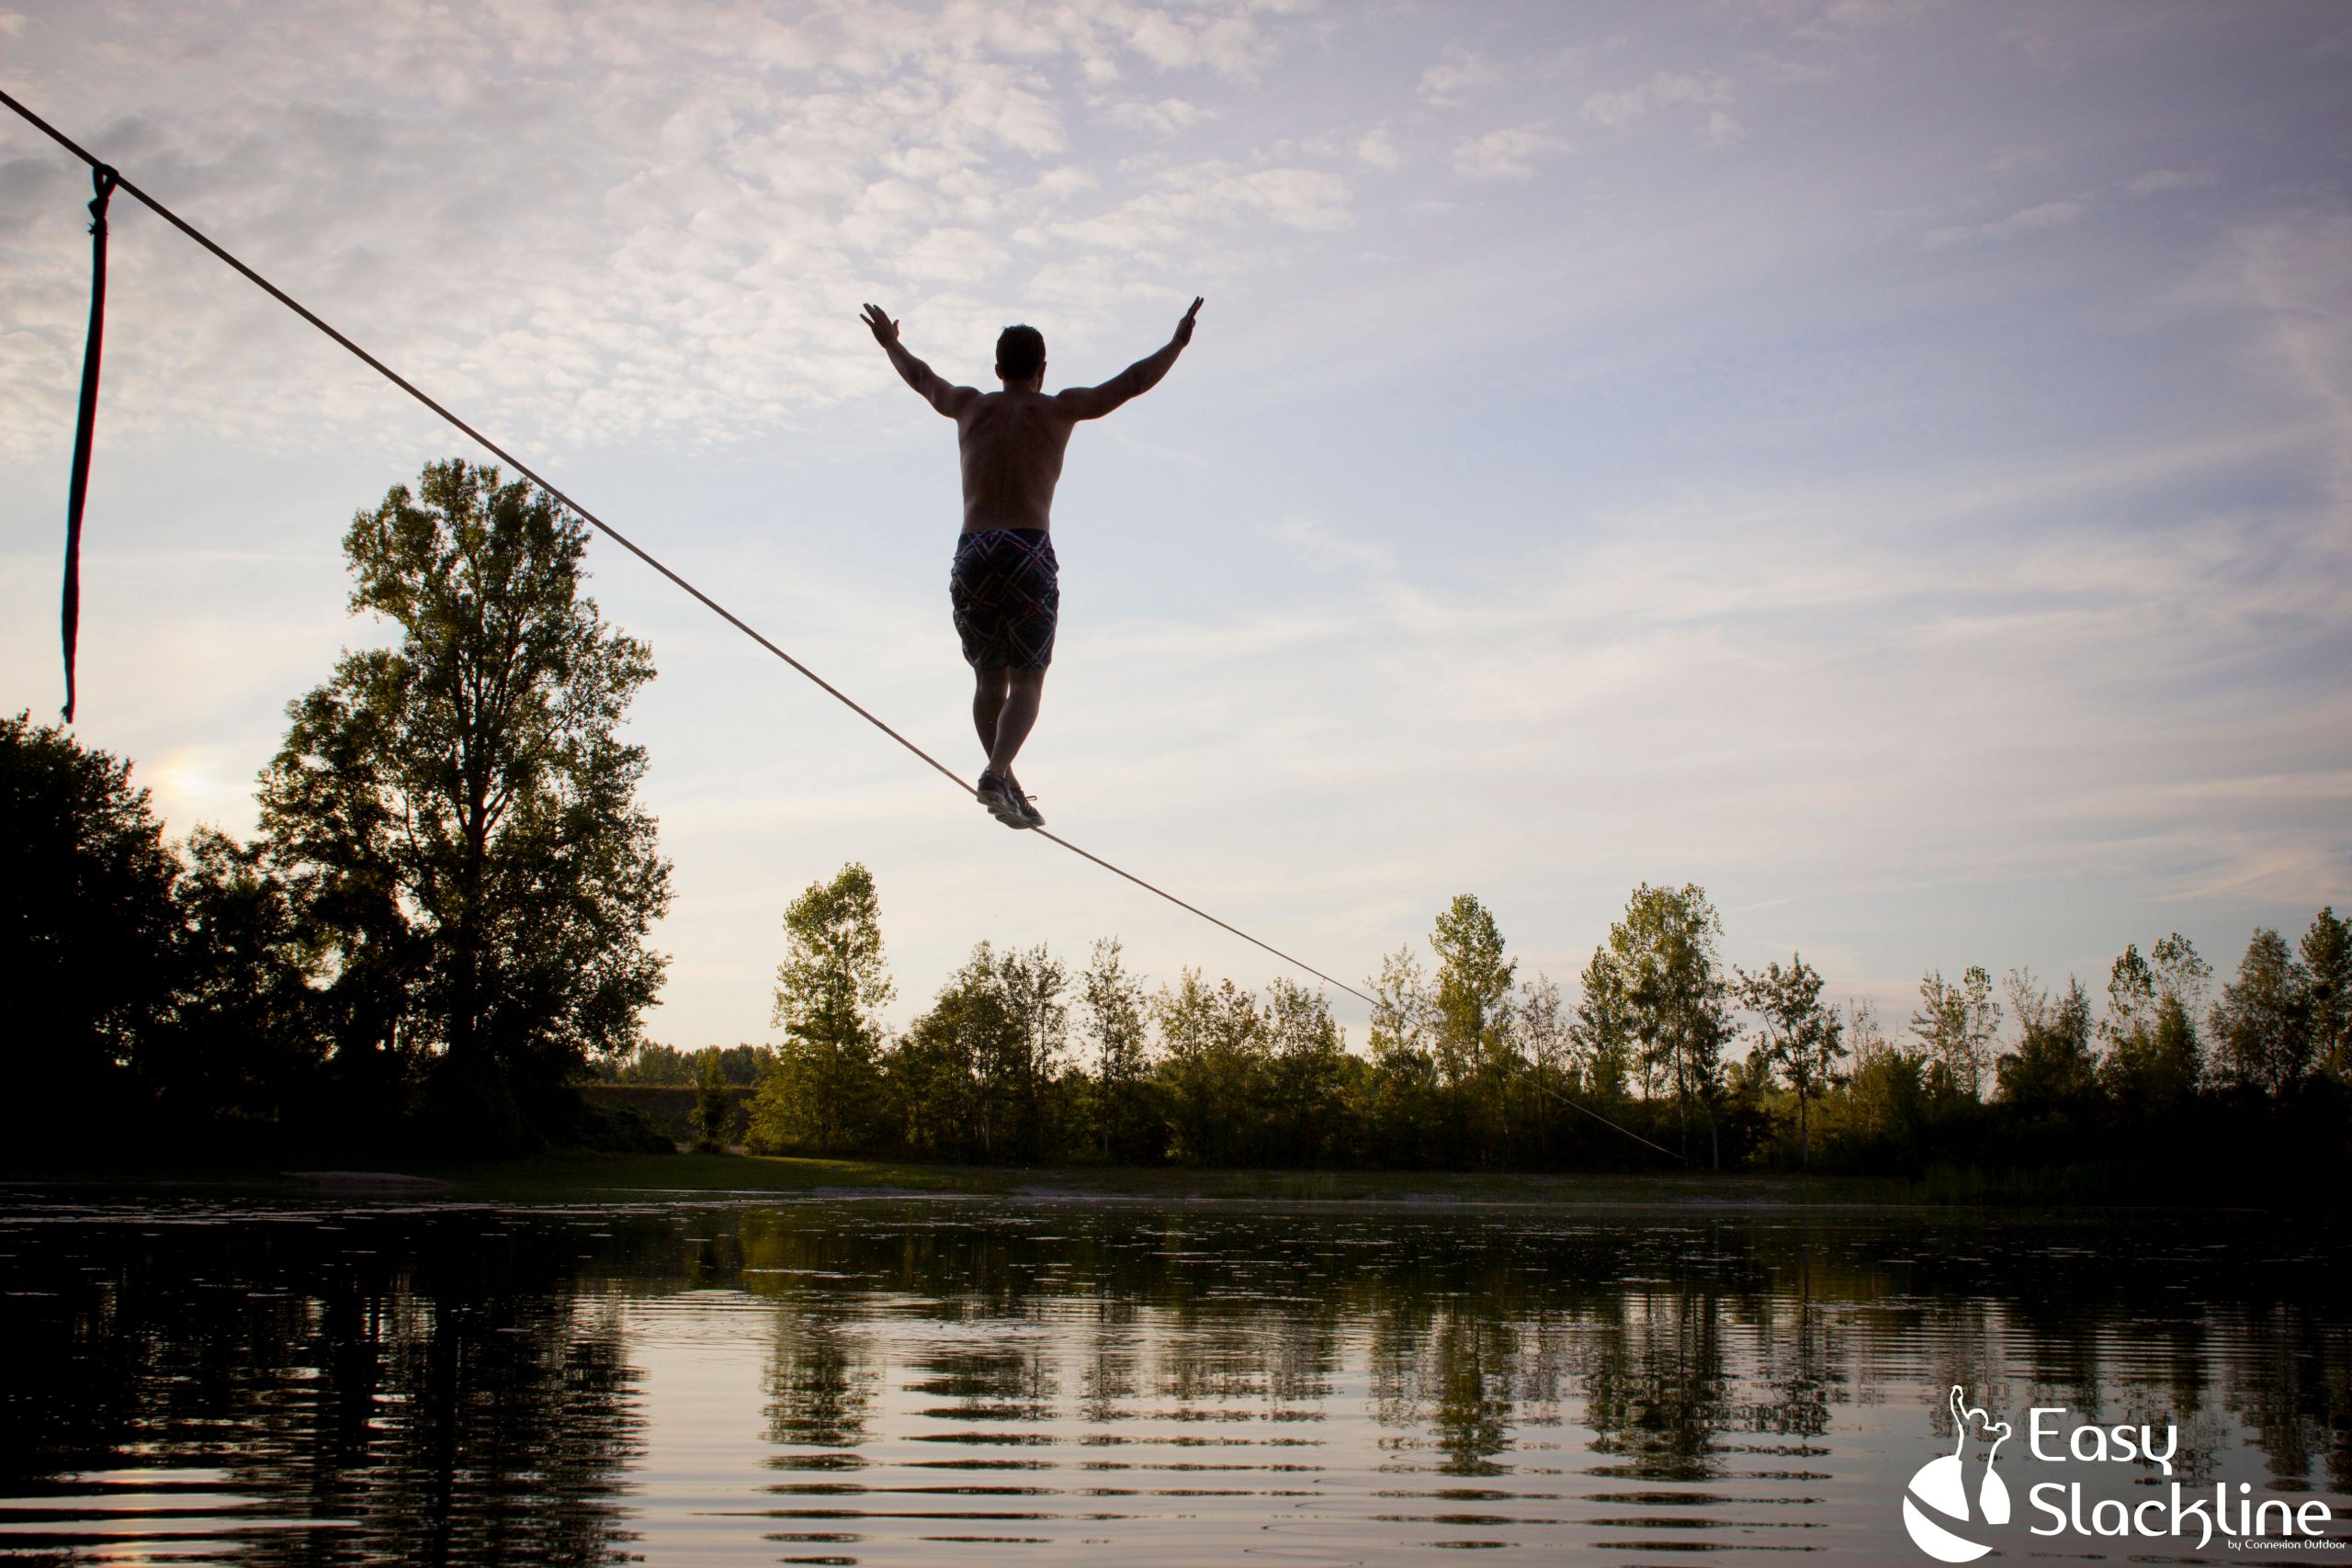
Waterlining is walking on a slackline tighten above the water surface. It’s a very fun and pleasant style of practice.
For slackline beginners, waterlining is a good way to spice up the activity without taking too much risk. Bad falls rarely occur as you are above water.
For confirmed slackliners, it will be a good as exercice and training to the highline practice due to one similarity : you can’t push on the ground to start, and you can’t lean one foot on the ground to help you during the crossing. And all that without a leash, because there is no need as you fall into the water.
This practice is the perfect first step to highline as you can technically train without dealing with the highlining safety rules and the void fear. In any case, be careful to make sure you have enough depth without being too close to the banks. Don’t take unnecessary risks.
Beyond the physical difficulty and the great concentration that a crossing requires, the complexity of waterlining lies above all in the fact that the water moves under your feet. Visual marks are distorted, and even more when the crossing is done above moving water such as a river.
The more the the water moves, the more difficult the crossing is because the eye perceives a moving environment that disturbs the balance.
2. Where can I practice ?
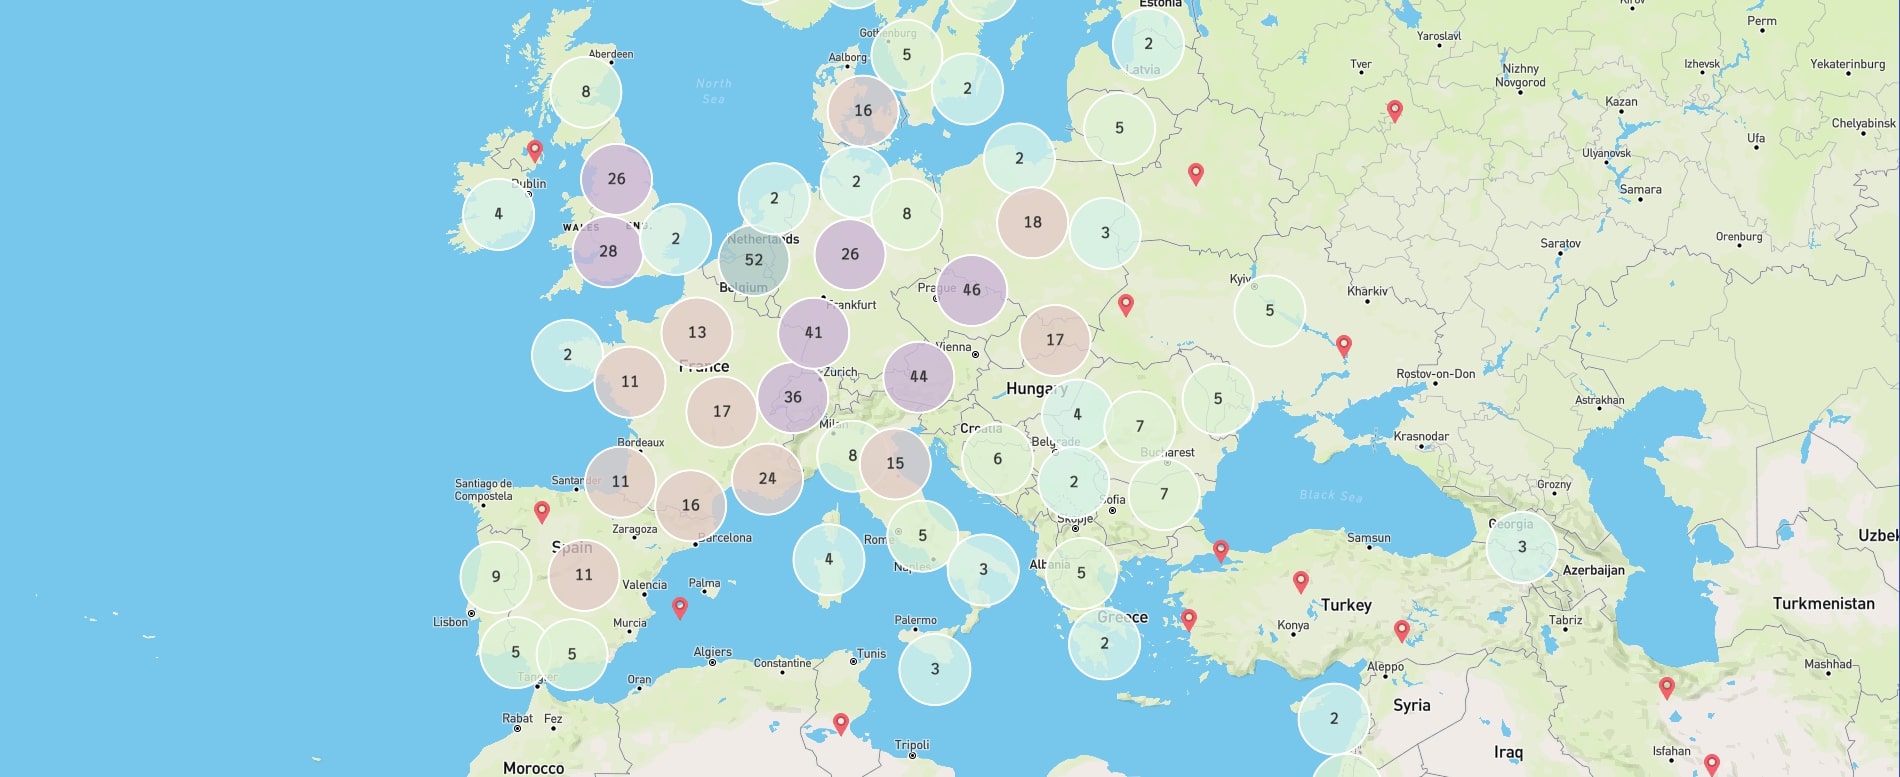
To find the right spot near, around you, but also people to slackline with, please visit the following section : “Where can I practice”
3. Required equipment for waterlining
Can water damage your slackline equipment ?
Slackline equipment, and especially the webbing is made of textile fibers (polyester, polyamide, nylon, dyneema, etc). Those fibers, under certain conditions, are not specially tattered/worned by water.
-
- Rinse the equipment with clear and fresh water
- Dry it away from sun and UV rays
- Store it well dry in a well-ventilated place.
Fresh/sweet water does not cause any damage. Salt water, on the other hand, will affect the lifespan of your webbing. It will quickly be worned.
To learn more about storing your slackline equipment, visit our blog to read our related article : «Maintaining and storing your slackline equipment».
The slackline webbing

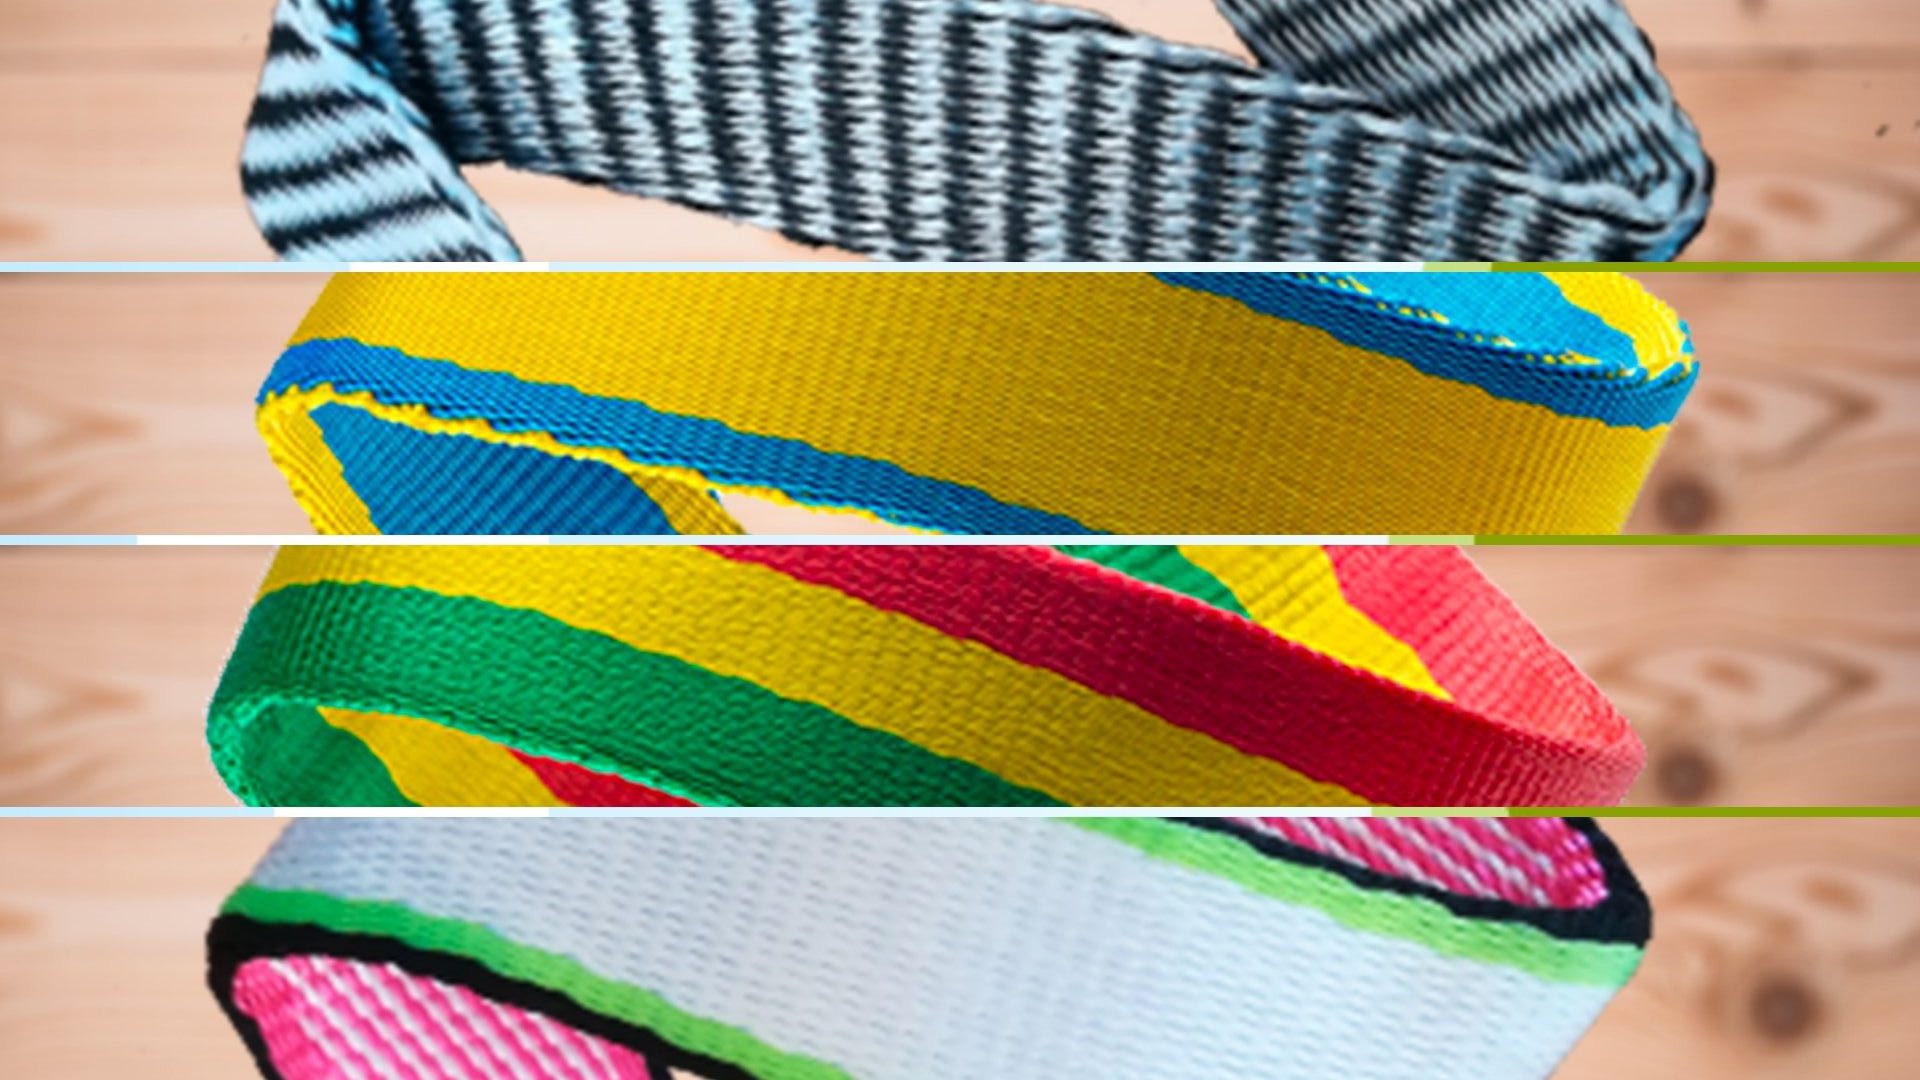
First of all, you will need a long enough slackline webbing. Flat slackline webbing are less stretchy and therefore easier to tighten. Unless you want to cross more than 35m, you can use both flat and tubular webbing.
In this case, always use a thin/narrow webbing, except if you want to trickline. There is no special equipment designed only for waterlining, use your usual equipment (e.g your longlining setup).
Le système de tension
When waterlining you have to notice that most of time the tensioning system will not be easy to set up due to aquatic environment : riverbank, water, small trees.
Using a double ratchet system, you will be able to tighten a 35m long slackline.
Using a primitiv system, you will be able to tighten a 50m long slackline.
Using a pulley system with weblock, you will be able to tighten 50m and more, up to 100m.
4. How to start waterlining ?

Bonne installation du matériel
Anchoring points and water depth
Once you’ve found the right spot, you have to think about anchoring the slackline. The simplest, most practical and reassuring solution remains a tree. But be careful, check if its roots are going deep into the ground and are not too close to the riverbank!
If you attach the slackline to other supports, make sure they are strong enough (docking stick, pontoon, etc.). In any case, we strongly advise against using street furniture that are absolutely not made for (lamp-post, public bench, etc.).
Ito set up a waterline, the ideal is to find a spot with a sufficient depth of water along the entire length of the slackline to safely fall into the water. For the tensioning system, try to find the configuration that allows the easiest access to it so you can tension the slackline.
As for the fall, never dive head first for safety reasons (there may be a hidden rock).
Also take care of your ears when falling, eardrums damage may be possible, even if it’s very rare. More info on this link.
Backups
Do not forget to tie backups to secure your equipment! This rule applies to all equipment especially tensioning devices, whatever they may be.
Slacklining consists of putting the equipment (webbing, tensioning device) under a permanent tension and walking on it. Although the resistance of the material is adapted to the practice of slackline, and even tested , the zero risk does not exist. Backups are designed to prevent the elements of the slackline from being thrown around in the event of a failure, and therefore to avoid injuries by hitting people nearby.
For more information on safety, visit to the “safety” section.
Some skills to possess
With a little practice, waterlining is accessible to everyone and is really fun!
You will obviously need to be comfortable walking short distances and then gradually increase the length – or even the height if you want to train with the conditions of highline practice (2/3m max above the water).
It will also be necessary to know how to do a sit start, such as the “chongo start” (subtitles available). Because the water does not allow you to take support to start, and to be able to start your crossing far from the edge or where there is sufficient bottom.
And what about the fall ?! Well, let’s talk about it …
You have to learn to “catch” (catch up with the slackline in the event of a fall). This is very important for your safety and also to avoid having to swim back to the riverbank to start the crossing from the beginning. Furthermore this technique allows you to also avoid a good old belly flop 🙂


